


Blog
High-Gloss Polishing of Wooden Surfaces
How to Polish To A High-Gloss Finish
A shiny, high-gloss finish on painted wooden surfaces can transform interior spaces like kitchens into striking showpieces. However, surface imperfections like scratches or orange peel can be just as noticeable, detracting from the overall effect.
Mirka’s high-gloss polishing solutions offer an effective way to eliminate these flaws, leaving your surfaces with a flawless, mirror-like shine.
By using the perfect combination of Mirka abrasives, polishes, and tools, you can achieve exceptional results quickly and efficiently. Plus, the process is virtually dust-free, saving you both time and money on sanding and cleanup.
Three Step Process To Achieving A High-Gloss Shine
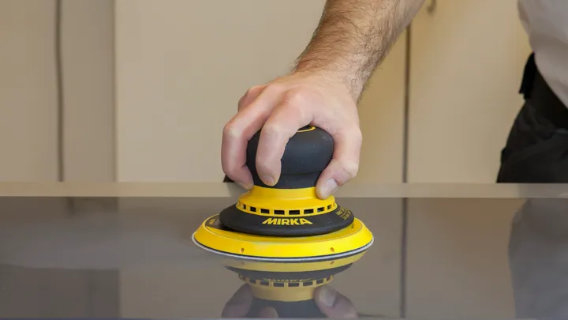
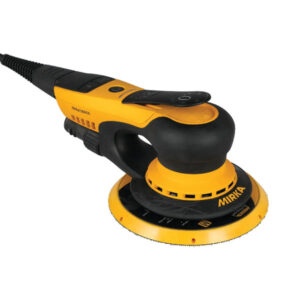
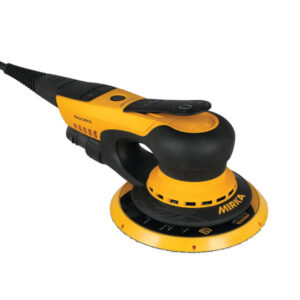
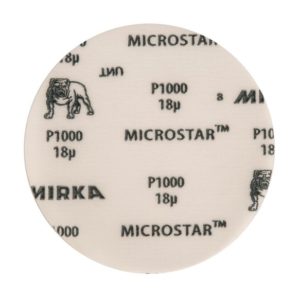
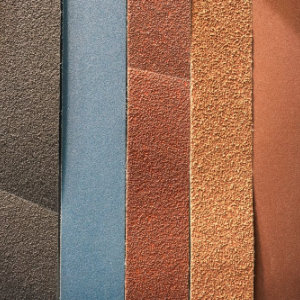
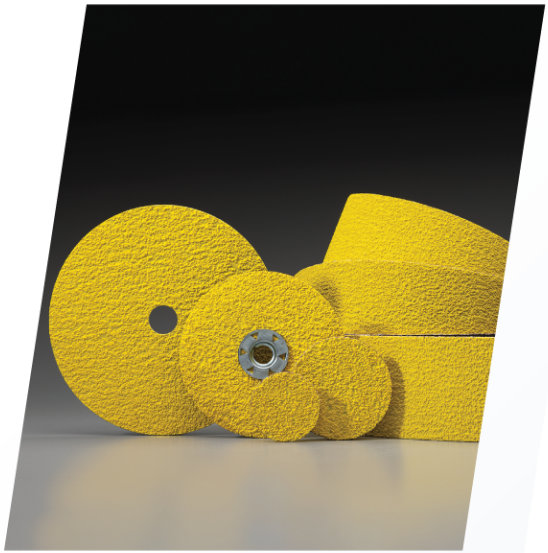
Step 1 – Sanding
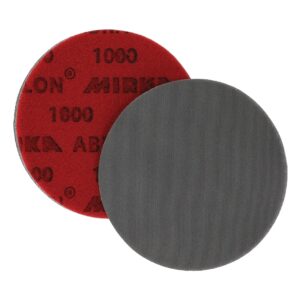
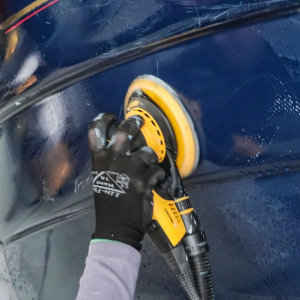
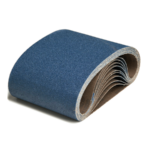
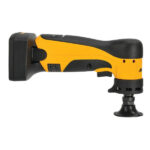
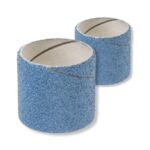
To eliminate scratches and imperfections, start by sanding the surface with a Mirka® DEROS Electric Sander paired with Microstar® P1200 abrasives until the surface is evenly matte. For heavier orange peel, use Abranet Ace P1000 discs to achieve a smooth, uniform finish.
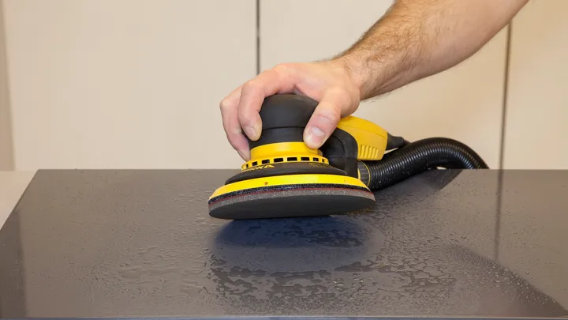
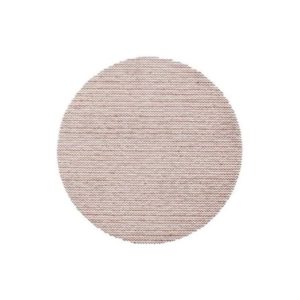
Step 2 – Damp Sanding
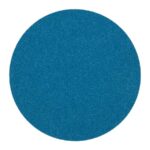
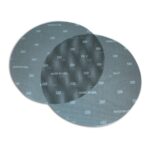
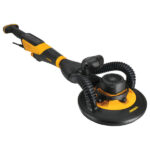
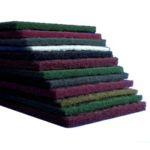
Next, switch to damp sanding using Abralon® P3000 discs. Ensure both the abrasive and the surface are wet during this process. To prevent moisture damage to the sander and dust extraction system, either turn off the dust extractor or use a Mirka Vacuum Block Disc.
Once the surface is fully sanded to a smooth finish, wipe it clean with a microfiber cloth to remove any remaining residue.
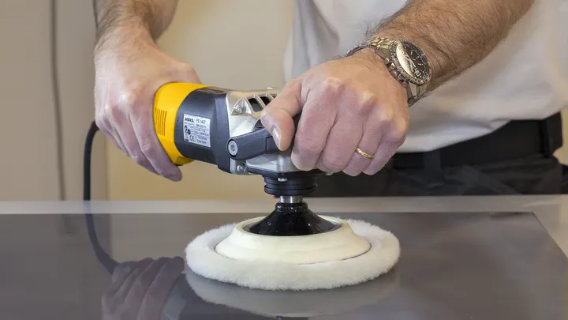
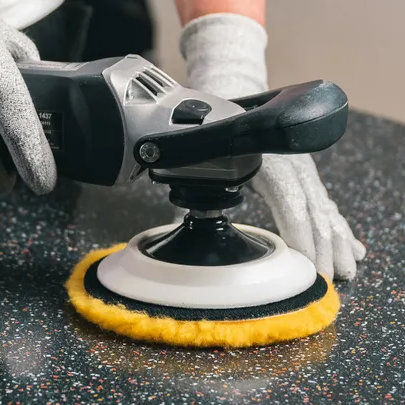
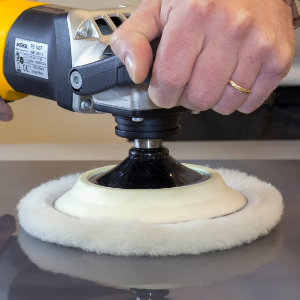
Step 3 – Polishing
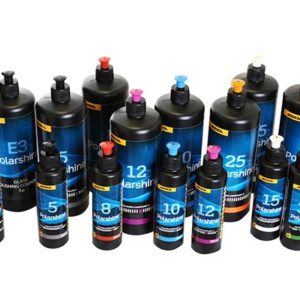
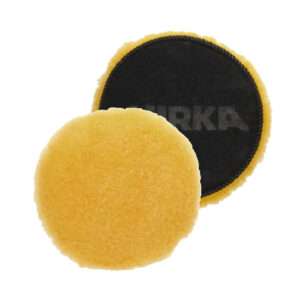
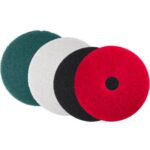
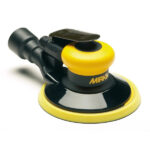
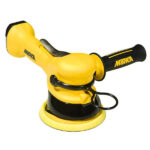
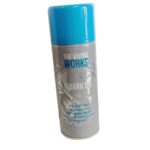
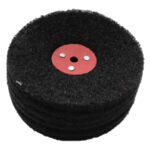
Polish the surface using Polarshine® 10 and a lambswool pad to achieve a brilliant shine.
For an even deeper, mirror-like gloss, perform a second round of polishing with Polarshine® 10, this time using a yellow waffle polishing pad. This step is optional but enhances the final finish.