


Norton’s 3 Step Process To A Mirror Finish On Stainless Steel With An Angle Grinder
What Is A Mirror Finish?
On stainless steel, a mirror finish is a highly-polished commercial finish characterised by a bright, shiny and reflective surface. You’ll most commonly find it in aesthetic pieces, such as public architecture, tapes and furniture. Not only is a mirror finish visually appealing, the gradual removal of scratches in the surface through mechanical polishing processes reduces troughs or grooves in the material that harbour contaminants, such as dirt or bacteria, in day to day use.
What Is The Benefit Of A Mirror Finish?
Not only is it aesthetically pleasing, a mirror finish is far less susceptible to contamination than rougher surface finishes. You achieve this smooth surface by working through grit grades in mechanical applications to gradually remove scratches and imperfections from the metal. In more technical terms, a mirror finished steel will have an Ra reading of less than 0.2. Ra, or roughness average, measures microscopic peaks and troughs in the surface of the metal, with the lower the number, the fewer or smaller the peaks and troughs are. This means that your metal surface is smoother and more reflective.
When Would A Mirror Finish Not Be Suitable?
It’s important to remember that this isn’t a desirable finish for everything – it’s high-shine which means it does require constant maintenance to maintain the perfect mirror. If something such as a public bannister was imparted with a mirror finish, it’d be covered with visible unsightly finger marks within minutes. In high-traffic areas, or on pieces where function over form is more important, you’re more likely to benefit from imparting a lower grade finish to your workpiece.
Step By Step Guide
For stainless steel applications, choosing a TIG over a MIG weld is invariably the better option. MIG welds are great for thick, heavy duty applications, whilst TIG welds are the better choice for thinner pieces of metal. TIG welds also are less likely to leave contaminants and imperfections (such as spatter) on the metal, meaning less re-work is needed following the welding process to get to your final desired finish.

Norton’s 3 Step Process
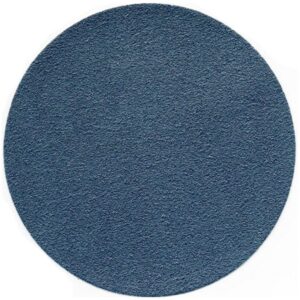
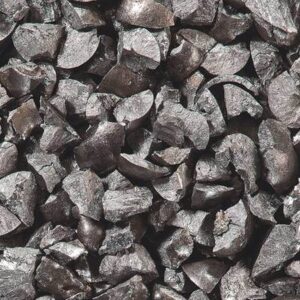
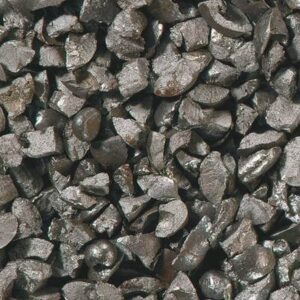
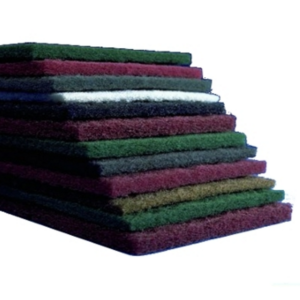
- Vortex Blue Rapid Blend
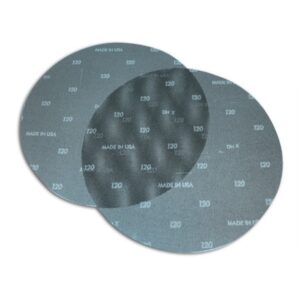
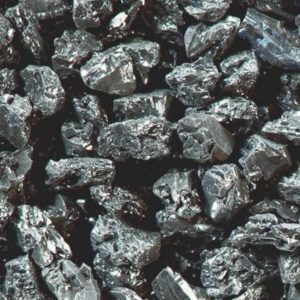
- Grey Rapid Blend NEX
- Felt Rapid Polish
From initial weld removal, to blending scratches and removing imperfections, to refining and imparting a bright finish, to polishing the workpiece and finally achieving a shiny mirror finish!
-
 Nitro Range:
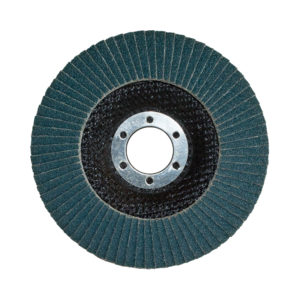
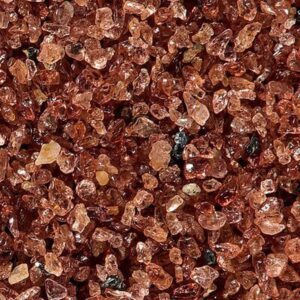
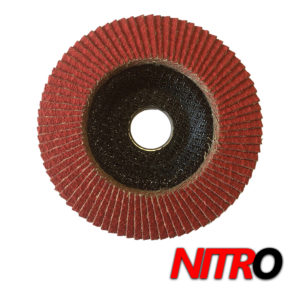
Red Nitro Ceramic Flap Discs, 10/Pack
£23.00 +VATPremium quality ceramic. Great for stock removal, deburring and cleaning & finishing. Known for its long lasting performance.Select optionsDISCOUNTS AVAILABLE ON NITRO & TURBO PRODUCTS Spend £250 Across The Range - Receive 10% Discount Spend £500 Across The Range - Receive 15% Discount DISCOUNT APPLIED AT BASKET/CHECKOUT Click Here To View Our Range -
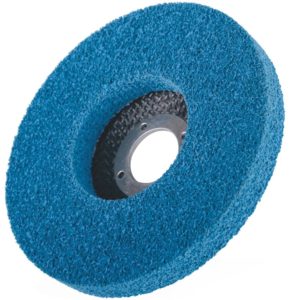
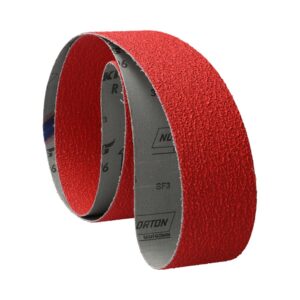
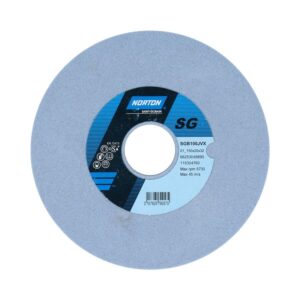
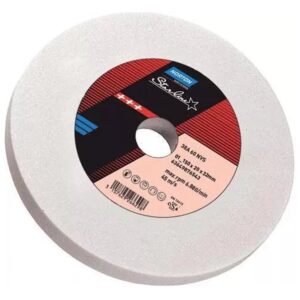
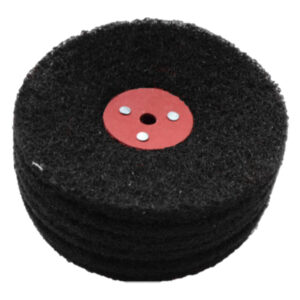
Norton Vortex Blue Rapid Blend Depressed Centre Blending Discs Type 27, 10/Pack
£129.70 – £174.70 +VATSelect options
 Premium quality and a superb addition to your weld finishing arsenal. Eliminate abrasive steps and leave a high quality finish. Can cut like a 120 grit flap disc and goes on to fully blend in the weld leaving a glossy blended finish.
 -

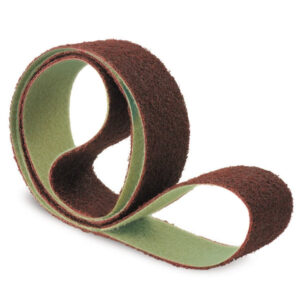
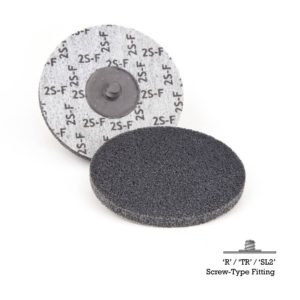
Norton Grey Rapid Blend Depressed Centre Blending Discs Type 27, 10/Pack
£90.20 – £187.20 +VATSelect options
 Use in conjunction with the Vortex blue blending discs. Pre-finishing disc which leaves a very fine and shiny finish leaving the weld area ready for polishing.
 -
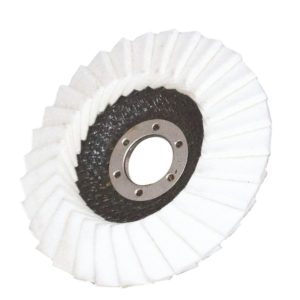
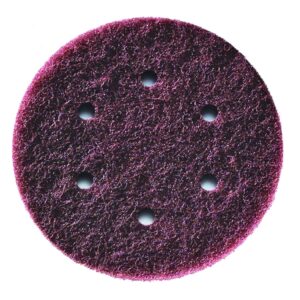
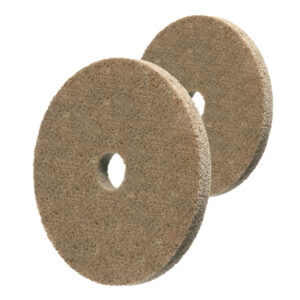
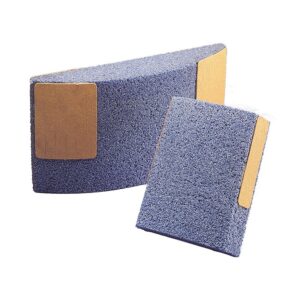
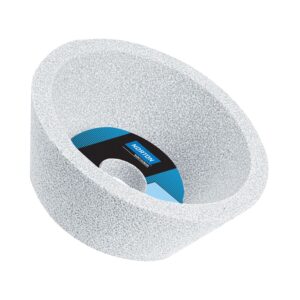
Norton Rapid Polish Felt Flap Discs XFLD (Plain), 10/Pack
£156.80 – £235.30 +VATSelect options Top quality felt wool flap discs for angle grinders. Use following previous stages with blending discs for a professional mirror finish. Recommended for application with polishing compound for a smooth, scratch free result and a professional, mirror shine. Optimum performance when run at slower speeds on a variable speed power tool.
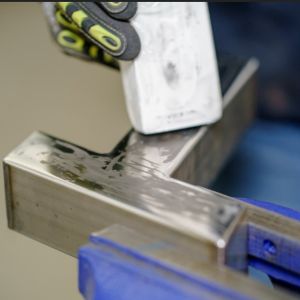
Surface Preparation

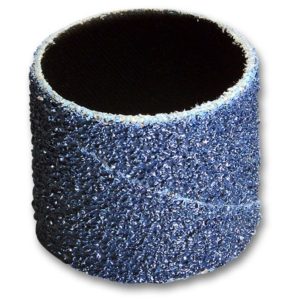
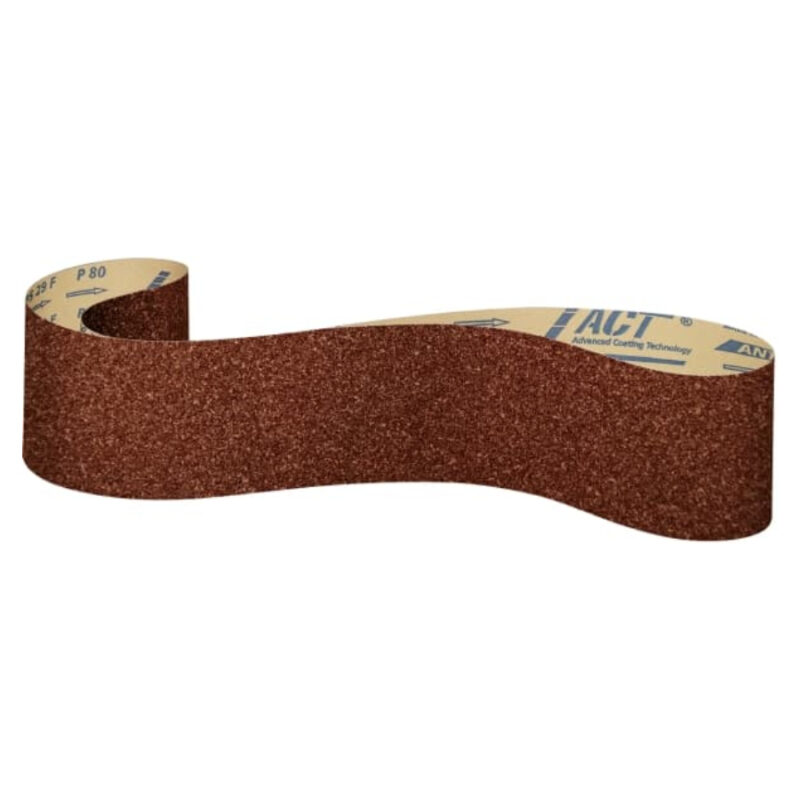
Use a Red Nitro Ceramic Flap Disc in grit 80 to remove TIG weld material from your piece. Nitro Ceramic Flap Discs have a “supersize” layer to facilitate cool grinding on stainless steel, reducing the risk of blueing or burning.
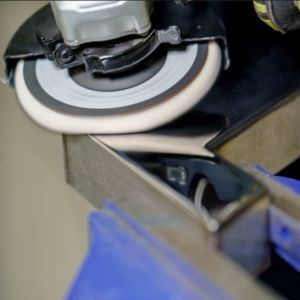
Step 1: Blending
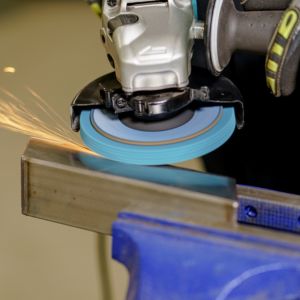
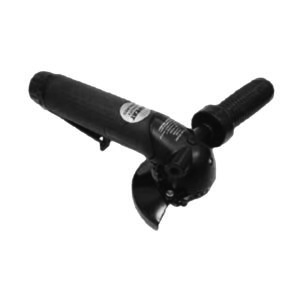
Use a Norton Vortex Rapid Blend disc to blend out scratches from your material removal step. Vortex Rapid Blend discs are made of nylon fibres, and lay the foundations for a bright finish to your stainless steel piece. Reduce the speed to 5 – 6,000 RPM and use slow, even strokes at a 10 – 15 degree angle to impart a consistent matt satin finish.
Step 2: Refining
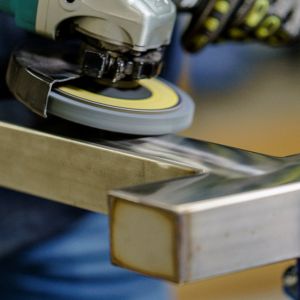
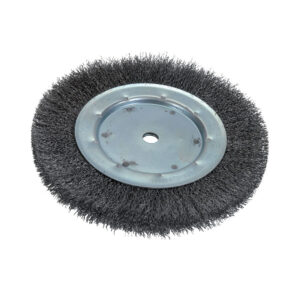
Use a Norton Rapid Blend NEX disc in 2SF to refine your satin finish and keep the grinder speed low. The fine grade silicon carbide abrasive and nylon fibres in grade 2SF (soft & semi-conformable) impart a finer / brighter finish.
By the end of this process, you should have a smooth, bright satin finish – taking the time to remove imperfections at this stage in mirror finishing will make your final polishing step quicker and more effective.
Step 3: Polishing
So, you have refined your workpiece and removed all scratches and imperfections, you are now ready to polish your stainless steel workpiece. Reduce the speed of your grinder to 2-3000 RPM for use with a felt wool polishing pad. Using a white polishing compound block, apply some compound to your felt disc by offering the bar to the disc whilst the machine is running. If the workpiece is still hot from the previous processes you can even apply some compound directly to the surface – the more the better!
Now, applying minimum pressure and just using the weight of the machine to guide you, slowly pass the grinder in regular stokes up and down your surface. This process takes time, and you will need to stop at regular intervals to re-apply compound and check the surface finish – some imperfections you have missed from your refining step might now become apparent, and it may be necessary to go back to step 3 to re-work your workpiece if an extremely high standard is required.